I’ve been seeing lots of people trying to run Windows 11 in the virtual space. I wanted to do the same thing to test out the new OS so wanted to document the steps for anyone else wanting to do the same. Note, Windows 11 have unique requirements than previous versions of Windows, so there’s a few steps you will need to manually do to prep the Fusion VM to run it. System Requirements
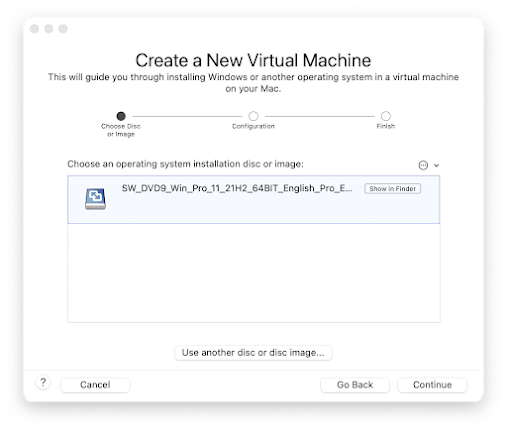
First, create a new virtual machine in Fusion. When it asks for the ISO file provide the Windows 11 ISO.
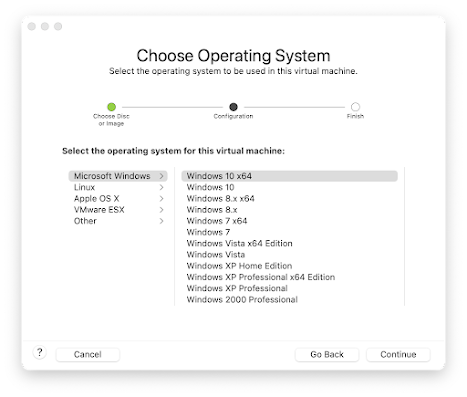
Next, choose Microsoft Windows, and the Windows 10 x64
Leave the default set to UEFI, and choose Continue
On the last screen, choose Customize Settings
Now pick a location to save the VM
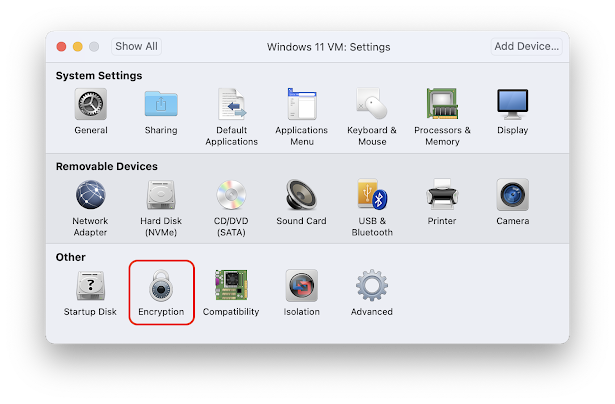
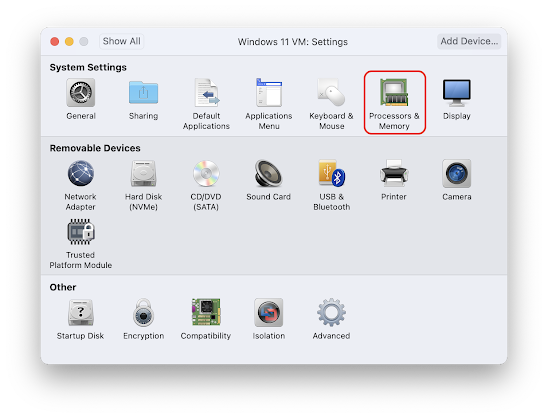
When you get to the settings screen, we’ll need to make 3 changes
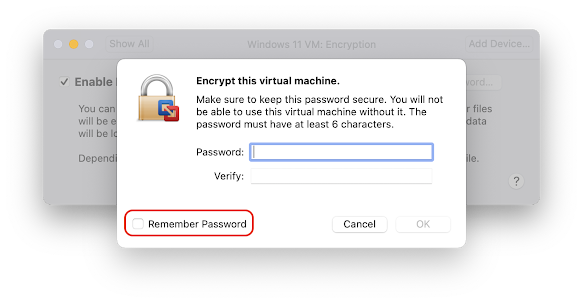
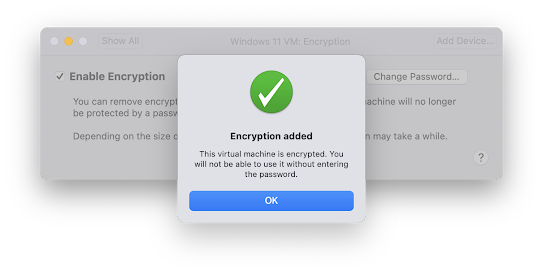
1. Enable Encryption
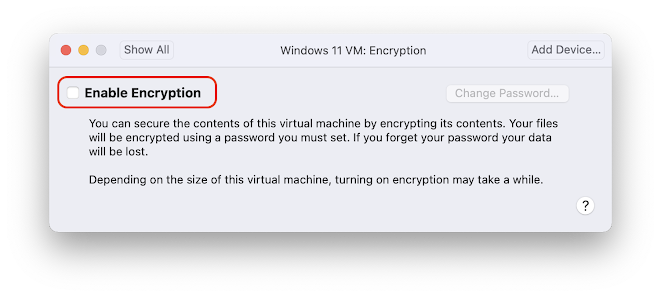
You’ll be asked to set an encryption password. Please store this somewhere safe. You can also check the Remember Password to store this password in your Keychain Access as well. If you don’t remember it, you’ll have to enter this password every time you use the VM.
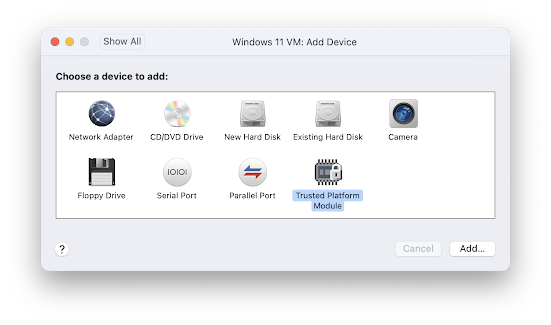
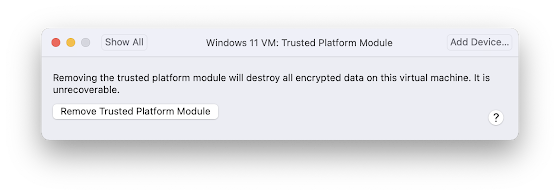
2. Install a TPM Module
(Windows 11 requires that computers have a TPM module to run. More on that can be found here link.)
First you need to click on Add Device in the top right of the Settings window

Next, click on Trusted Platform Module and choose Add
3. The last step is required because by default VMware Fusion sets any Windows 10 VMs to 2GB of RAM. Windows 11 requires at least 4GB of RAM for it to install. It needs to be a minimum of 4GB.

That’s it. Save the settings and boot the VM and you will be off and running doing the install. Thanks for reading and happy virtualizing!


Leave a comment